Cocoa bombs have become a popular treat, especially during the colder months when a warm, comforting beverage hits the spot. These fun, interactive treats are chocolate spheres filled with hot cocoa mix, marshmallows, and sometimes even other sweet surprises. When you pour hot milk over them, the cocoa bomb melts and releases all the yummy contents, transforming into a delicious cup of hot cocoa.
Making your own cocoa bombs at home can be a fun activity for yourself or a great project to do with friends or kids. If you’re new to the world of cocoa bombs, don’t worry—this guide will walk you through every step of the process, from gathering ingredients to putting your cocoa bombs together. Let’s dive into how to cook cocoa bombs!
What You Need to Make Cocoa Bombs
Before you get started, gather all the ingredients and tools you’ll need. Here’s a simple list:
Ingredients:
Chocolate: You can use either milk chocolate, dark chocolate, or white chocolate, depending on your preference. Choose good-quality chocolate, such as couverture or melting chocolate, for the best results.
Hot cocoa mix: You can buy pre-made hot cocoa mix or make your own by combining cocoa powder, sugar, and milk powder.
Marshmallows: Mini marshmallows work best for cocoa bombs, but you can use regular-sized marshmallows if you prefer.
Optional extras: You can add flavorings such as peppermint extract, caramel, toffee bits, crushed cookies, or sprinkles for extra fun.
Equipment:
Cocoa bomb silicone molds: These molds are typically hemispherical and come in various sizes. They are designed specifically for making cocoa bombs.
Heatproof bowl: Used for melting the chocolate.
Microwave-safe mug or heatproof container: For pouring hot milk to melt the cocoa bomb.
Spoon or brush: To coat the inside of the molds with chocolate.
Knife or spatula: For smoothing and sealing the cocoa bombs.
Microwave or stovetop: For melting the chocolate.
Once you have everything ready, you can begin making your cocoa bombs!
Step-by-Step Guide on How to Cook Cocoa Bombs
Step 1: Melt the Chocolate
The first step in making cocoa bombs is melting the chocolate. You can do this using either the microwave or stovetop method. Both methods work equally well, so choose the one that is most convenient for you.
Microwave Method:
- Break the chocolate into small pieces and place it in a heatproof bowl.
- Microwave the chocolate in 20-30 second intervals, stirring in between to ensure the chocolate doesn’t burn.
- Continue until the chocolate is completely melted and smooth.
Stovetop Method:
- Use a double boiler to melt the chocolate. Place a heatproof bowl over a saucepan of simmering water.
- Stir the chocolate regularly until it melts smoothly.
Step 2: Prepare the Molds
Next, prepare the silicone molds. You’ll be using these to form the cocoa bombs. Make sure the molds are clean and dry before use.
- Using a spoon or brush, coat each hemisphere of the mold with a thin layer of melted chocolate.
- Be sure to cover the entire inside of the mold, but don’t overdo it, as you don’t want the chocolate to be too thick.
- After coating the molds, place them in the fridge for 10-15 minutes to allow the chocolate to harden. This creates a solid base for the cocoa bomb.
Step 3: Add the Hot Cocoa Mix and Marshmallows
Once the chocolate in the molds has hardened, it’s time to add the filling.
- Take one half of the chocolate sphere and spoon in 1-2 tablespoons of hot cocoa mix.
- Add a few mini marshmallows on top of the cocoa mix. You can also add extra fun ingredients like crushed candy canes, caramel bits, or even a sprinkle of cinnamon.
- Make sure not to overfill the molds, as you will need to seal them later.
Step 4: Seal the Cocoa Bombs
Now it’s time to seal the two halves of the cocoa bomb together. This step is crucial to ensure that your cocoa bomb holds up and doesn’t fall apart when you pour hot milk over it.
- Take the second half of the chocolate sphere and gently press it onto the filled half. You want to align the edges as perfectly as possible.
- If the edges don’t stick together, you can heat a small plate or pan and briefly place the edges of the two halves on it. This will slightly melt the edges, allowing them to bond together.
- Press gently to ensure a tight seal.
- Once the two halves are joined, place the completed cocoa bomb back in the fridge for another 10-15 minutes to fully set.
Step 5: Decorate the Cocoa Bombs (Optional)
After the cocoa bombs have set and are fully sealed, you can add some decoration to make them look even more exciting!
- Drizzle some melted chocolate over the top for a decorative touch. You can use the same type of chocolate or mix things up with a contrasting color (e.g., white chocolate on a milk chocolate bomb).
- Add sprinkles, edible glitter, or colored sugar for extra flair.
- If you want to make holiday-themed cocoa bombs, you can decorate them with holiday-colored sprinkles or place a small candy cane on top.
Once the decorations are done, return the cocoa bombs to the fridge for a few more minutes to allow the decorations to harden.
Step 6: Serving Your Cocoa Bombs
Your cocoa bombs are now ready to be served!
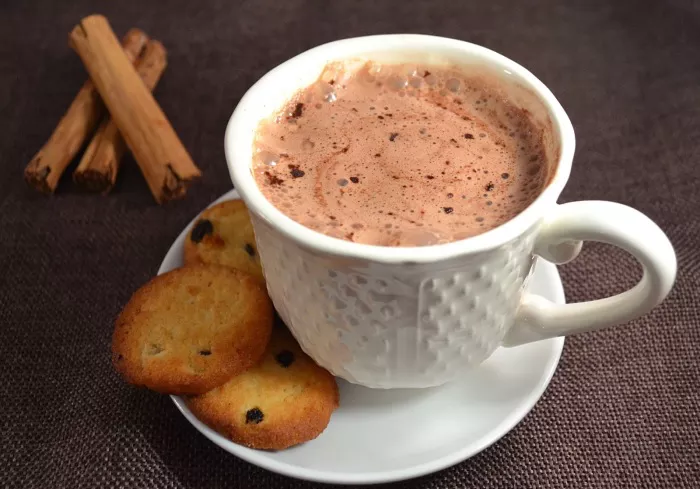
To use them, simply place the cocoa bomb in a mug and pour hot milk over the top. The heat from the milk will melt the chocolate shell, releasing the cocoa mix and marshmallows inside. Stir the mixture until everything is well combined, and enjoy your delicious, creamy hot chocolate.
Tips for Perfect Cocoa Bombs
Here are a few helpful tips to ensure your cocoa bombs come out perfectly every time:
Chocolate Quality: Use high-quality chocolate for the best flavor and smooth melting experience. Avoid chocolate chips, as they often contain stabilizers that can prevent smooth melting.
Don’t Overfill: Be sure not to overfill the cocoa bomb molds, as this can cause the spheres to be too heavy or unstable.
Handle with Care: Cocoa bombs can be a little fragile, especially after they’ve been filled. Handle them gently to avoid cracking the chocolate.
Storage: Cocoa bombs can be stored in an airtight container for up to 2 weeks. Keep them in a cool, dry place away from direct sunlight to prevent the chocolate from melting prematurely.
Variations to Try
While the basic cocoa bomb is delicious on its own, you can get creative with variations. Here are some ideas:
Peppermint Cocoa Bombs: Add a few drops of peppermint extract to the hot cocoa mix for a festive twist.
S’mores Cocoa Bombs: Use graham cracker crumbs and mini marshmallows inside the bomb, and decorate with a few pieces of chocolate for a s’mores-inspired flavor.
Caramel Cocoa Bombs: Add a spoonful of caramel sauce inside the bomb, or drizzle it over the top for a sweet, rich flavor.
White Chocolate Cocoa Bombs: Swap out the regular chocolate for white chocolate for a lighter flavor.
Final Thoughts
Making cocoa bombs is a fun, creative activity that anyone can enjoy, and it’s a perfect treat for cozying up with a hot cup of cocoa during the colder months. Whether you make them as a gift or just for yourself, they’re sure to bring a smile to anyone’s face when they experience the magic of watching the chocolate melt and reveal the delicious cocoa inside.
With the right ingredients, a little patience, and some creativity, you’ll be able to make perfect cocoa bombs every time. So, grab your molds, get your chocolate ready, and start creating these sweet, chocolaty treats!
Related topics:

