Blackberries are a delicious fruit that make a fantastic pie filling. Their sweet-tart flavor and juicy texture blend beautifully with a buttery pie crust. To prepare blackberries for pie, you must follow a few simple steps to ensure they are perfectly ready to fill your crust. This guide will walk you through the process, from choosing the best blackberries to preparing the filling.
1. Choosing the Right Blackberries
The first step in preparing blackberries for pie is to choose the best fruit. Fresh blackberries are ideal, but you can also use frozen blackberries if fresh ones are not available.
Fresh Blackberries
- Look for plump, firm berries with a deep, dark purple color.
- Avoid berries that are mushy, overly soft, or have mold.
- Fresh blackberries should have a slight shine and be dry, without any moisture on the surface.
Frozen Blackberries
- Frozen blackberries are convenient and available year-round.
- Be sure to check the packaging for any signs of freezer burn or clumping, which indicates the berries may not be of the best quality.
- Frozen berries may release more juice during the thawing process, which means they may need more thickening agents in your pie filling.
2. Washing Blackberries
If you’re using fresh blackberries, wash them carefully before preparing the pie filling.
How to Wash Blackberries
- Gently place the blackberries in a colander or fine mesh strainer.
- Rinse the berries under cold water. Be gentle, as blackberries are delicate and can easily break apart.
- Do not soak the berries in water, as they can become waterlogged and lose flavor.
- After rinsing, allow the blackberries to drain for a few minutes to remove excess moisture.
3. Removing Any Debris or Damaged Berries
As you wash the blackberries, it’s important to check for any damaged or unripe berries. These can affect the taste and texture of your pie.
Inspecting the Berries
- Gently sift through the berries to remove any stems, leaves, or other debris.
- Discard any overripe or mushy berries, as they may break down during baking and cause the filling to become too runny.
- Remove any unripe berries that are green or hard, as they will not soften during baking and could affect the texture.
4. Preparing the Blackberry Filling
Once the blackberries are washed and cleaned, it’s time to prepare them for the pie filling. This step involves mixing the blackberries with sugar and other ingredients to create a thick, flavorful filling.
Ingredients for the Filling
- Fresh or frozen blackberries (about 5-6 cups for one 9-inch pie)
- Sugar (approximately 3/4 to 1 cup, depending on the sweetness of your berries)
- Cornstarch (1/4 cup for thickening)
- Lemon juice (1 tablespoon to add brightness)
- Cinnamon or nutmeg (optional, to enhance the flavor)
How to Mix the Ingredients
Combine the dry ingredients: In a bowl, mix the sugar, cornstarch, and any optional spices (such as cinnamon or nutmeg). The cornstarch will help thicken the juice released by the blackberries during baking.
Add lemon juice: Stir in the lemon juice to brighten the flavor of the blackberries. This helps balance the sweetness and tartness of the berries.
Toss the berries: Gently fold the blackberries into the sugar-cornstarch mixture. Be careful not to crush the berries as you stir. You want them to remain intact for a beautiful pie filling.
Let the mixture rest: Allow the filling to sit for about 10-15 minutes. This gives the sugar and cornstarch time to draw out the juices from the blackberries and start forming a syrupy consistency.
5. Preparing the Pie Crust
While the filling is resting, it’s time to prepare your pie crust. You can use a store-bought crust or make your own from scratch. The pie crust should be chilled before baking to ensure a flaky texture.
Making a Homemade Pie Crust
If you prefer a homemade pie crust, here’s a simple recipe:
- 1 1/4 cups all-purpose flour
- 1/4 teaspoon salt
- 1/2 cup cold unsalted butter, cut into small cubes
- 3 to 4 tablespoons ice-cold water
Mix the dry ingredients: Combine the flour and salt in a large bowl.
Cut in the butter: Using a pastry cutter or two forks, cut the cold butter into the flour until the mixture resembles coarse crumbs.
Add the water: Gradually add the ice water, 1 tablespoon at a time, until the dough comes together.
Chill the dough: Form the dough into a disc and wrap it in plastic wrap. Chill in the refrigerator for at least 30 minutes before rolling it out.
Prepping the Pie Shell
- Roll out the dough on a lightly floured surface to about 1/8-inch thickness.
- Carefully transfer the rolled dough to a 9-inch pie pan.
- Trim any excess dough around the edges, leaving about 1 inch of overhang.
- Fold the edges of the dough under and crimp them to form a decorative border.
6. Assembling the Blackberry Pie
Now that the filling and crust are prepared, it’s time to assemble your pie.
Filling the Pie
Pour the filling into the crust: Gently spoon the blackberry filling into the prepared pie shell. Spread it evenly to ensure the filling is level.
Dot with butter: Cut a few small pieces of butter (about 1 tablespoon) and dot them on top of the filling. The butter will melt as the pie bakes, helping to enrich the flavor.
Top Crust
You can either top your pie with a full crust or a lattice crust. Here’s how to make each:
Full Top Crust: Roll out the second portion of dough and place it over the filling. Cut a few slits in the top crust to allow steam to escape.
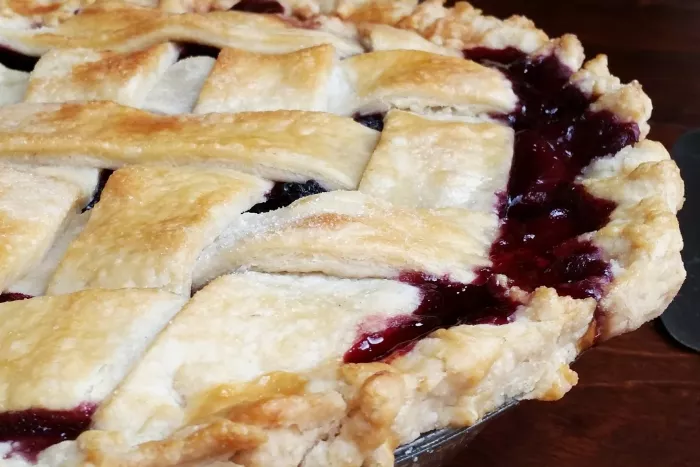
Lattice Crust: Roll out the second portion of dough and cut it into strips. Arrange the strips in a crisscross pattern over the filling, weaving them to create a lattice. Trim and crimp the edges as you did for the bottom crust.
7. Baking the Pie
Once your pie is assembled, it’s time to bake it. Preheat your oven to 375°F (190°C).
How to Bake
Place the pie on a baking sheet: This will catch any drips from the filling during baking and keep your oven clean.
Bake the pie: Place the pie in the preheated oven and bake for 45-50 minutes, or until the crust is golden brown and the filling is bubbly.
Check for doneness: If the edges of the crust begin to brown too quickly, cover them with aluminum foil to prevent burning.
Cool the pie: Once baked, remove the pie from the oven and allow it to cool for at least 2 hours. This helps the filling set and makes it easier to slice.
8. Serving the Blackberry Pie
Once your pie has cooled and set, it’s ready to be served. You can enjoy it on its own or with a scoop of vanilla ice cream or a dollop of whipped cream for an extra indulgence.
Tips for Serving
- Serve the pie at room temperature for the best flavor.
- If you’re serving the pie at a gathering, consider cutting it into small slices to allow everyone to enjoy a piece.
- Leftover pie can be stored in the refrigerator for up to 3-4 days. Be sure to cover it tightly to prevent it from drying out.
Conclusion
Preparing blackberries for pie is a simple process that involves choosing the right fruit, cleaning it, and preparing a flavorful filling. With a little time and care, you can create a delicious blackberry pie that will be a hit at any gathering. By following the steps outlined in this guide, you’ll have a beautiful, delicious pie that’s perfect for any occasion. Enjoy!
Related topics


