Hot cocoa bombs have become a popular treat, especially during colder months. These delightful creations are chocolate spheres filled with hot cocoa mix and marshmallows. When you drop them into a cup of hot milk, they explode into a delicious hot chocolate. In this article, we will cover everything you need to know to make your own hot cocoa bombs, from ingredients to step-by-step instructions.
Ingredients Needed
To create hot cocoa bombs, gather the following ingredients:
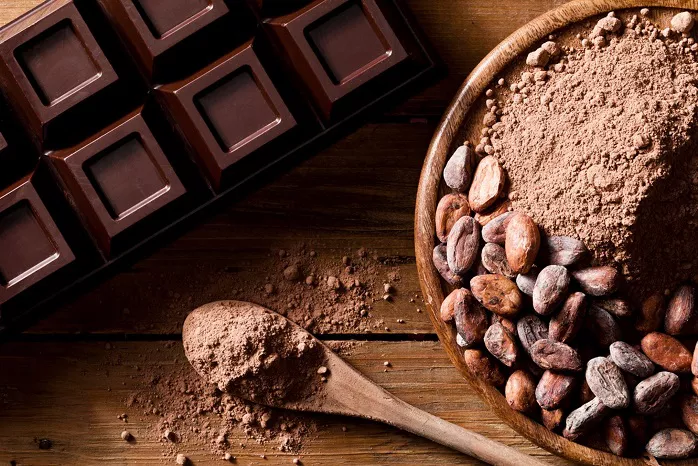
Chocolate: You can use chocolate chips, melting chocolate, or chocolate bars. Milk chocolate, dark chocolate, or white chocolate all work well.
Cocoa Powder: Unsweetened cocoa powder is essential for making the cocoa mix.
Sugar: Granulated sugar adds sweetness to your hot cocoa mix.
Marshmallows: Mini marshmallows are perfect for filling your cocoa bombs.
Milk or Dairy-Free Milk: This will be used to melt your cocoa bombs.
Optional Add-ins: You can include flavored extracts (like vanilla or peppermint), crushed candy canes, or sprinkles for extra fun.
Tools Required
You will also need some specific tools to create your hot cocoa bombs:
Silicone Mold: A hemisphere-shaped silicone mold is ideal. Each half of the mold will create one half of the cocoa bomb.
Microwave-Safe Bowl: This is for melting the chocolate.
Spoon or Piping Bag: For filling the chocolate molds.
Heat Gun or Spoon: To help seal the cocoa bombs.
Storage Container: Use an airtight container to store the finished hot cocoa bombs.
Step-by-Step Instructions
1. Prepare the Chocolate
Begin by melting your chocolate:
Chop the Chocolate: If you’re using chocolate bars, chop them into small pieces to ensure even melting.
Melt the Chocolate: Place the chocolate in a microwave-safe bowl. Microwave in 30-second intervals, stirring between each, until smooth. Be careful not to overheat the chocolate, as it can seize.
2. Mold the Chocolate
Now it’s time to create the chocolate shells:
Coat the Molds: Using a spoon or piping bag, pour a layer of melted chocolate into each half of the silicone mold. Use the back of the spoon to spread the chocolate evenly, making sure to cover the sides thoroughly. Aim for about 1/8 to 1/4 inch thick.
Set the Molds: Place the molds in the refrigerator for about 10 minutes, or until the chocolate has hardened.
3. Remove the Chocolate Shells
Once the chocolate is set:
Carefully Remove the Shells: Gently press the silicone mold to release the chocolate halves. Take your time to avoid breaking the shells.
4. Fill the Chocolate Bombs
It’s time to add the delicious filling:
Mix the Cocoa Powder: In a small bowl, combine 1/2 cup of cocoa powder and 1/4 cup of granulated sugar. This will be your hot cocoa mix.
Fill the Chocolate Shells: Take one chocolate half and fill it with 2 tablespoons of the cocoa mix and a handful of mini marshmallows. You can also add any optional ingredients, like crushed candy canes or flavored extracts.
5. Seal the Cocoa Bombs
Now, we need to seal the hot cocoa bombs:
Heat the Edges: Take another half of the chocolate shell and gently warm the edges using a heat gun or by placing it on a warm plate. This will help the two halves stick together.
Press Together: Align the filled half with the heated half and press them together firmly. Wipe away any excess chocolate.
6. Decorate the Hot Cocoa Bombs
Get creative with decoration:
Melt More Chocolate: Use leftover melted chocolate to drizzle over the top of the sealed cocoa bombs.
Add Sprinkles: While the chocolate is still wet, sprinkle on festive toppings like colored sprinkles or crushed peppermint.
7. Store the Hot Cocoa Bombs
Once decorated, store your hot cocoa bombs:
Use an Airtight Container: Place them in a container to keep them fresh. Store them at room temperature, away from heat and sunlight.
8. How to Use Hot Cocoa Bombs
Now that your hot cocoa bombs are ready, here’s how to enjoy them:
Prepare Hot Milk: Heat your milk of choice in a saucepan or microwave until steaming, but not boiling.
Drop the Bomb: Place a hot cocoa bomb in a mug and pour the hot milk over it.
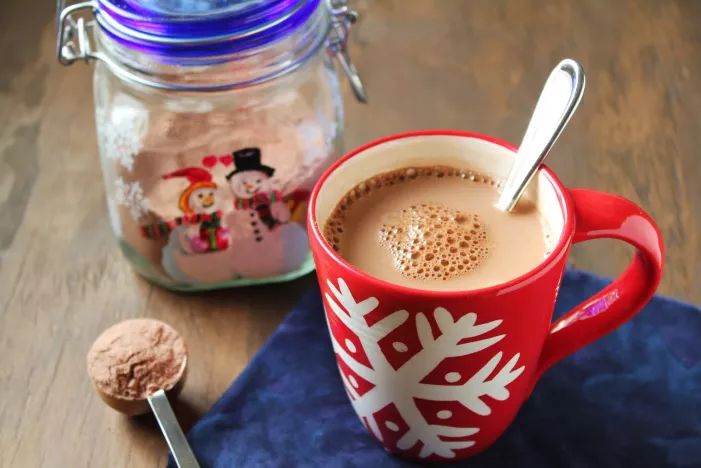
Watch the Magic: As the chocolate melts, it will release the cocoa mix and marshmallows, creating a delicious hot chocolate.
Stir and Enjoy: Stir well to mix everything, and enjoy your homemade hot cocoa!
Tips for Success
Experiment with Flavors: Try different types of chocolate and add flavored extracts to create unique combinations.
Use Quality Ingredients: For the best taste, choose high-quality chocolate and cocoa powder.
Avoid Overheating: Be careful when melting chocolate; overheating can ruin the texture.
Common Mistakes to Avoid
Thin Chocolate Shells: Ensure your chocolate layers are thick enough to hold their shape. If they’re too thin, they might break.
Filling Overload: Don’t overfill your cocoa bombs. Leave some space to ensure they seal properly.
Skipping Refrigeration: Let the chocolate set completely before removing it from the mold.
Conclusion
Making hot cocoa bombs is a fun and rewarding project. With a little practice, you can create beautiful and delicious treats that will impress friends and family. Whether you enjoy them yourself or give them as gifts, hot cocoa bombs are a delightful way to enjoy a cozy beverage. So gather your ingredients, follow these steps, and indulge in a warm cup of homemade hot cocoa today!
Related topics:


