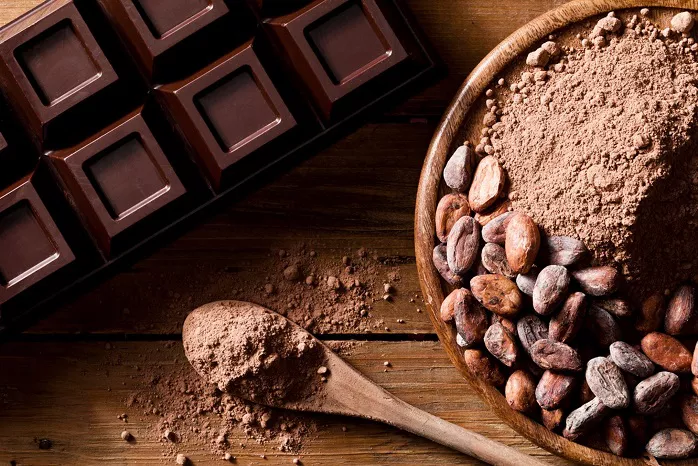
Cocoa bombs have become a popular trend in the world of homemade treats. These fun, customizable, and delicious treats are filled with hot cocoa mix, marshmallows, and sometimes even a surprise or two. When hot milk is poured over them, the cocoa bomb “explodes,” releasing its contents to create the perfect cup of hot chocolate. Making cocoa bombs with a mold is an easy and rewarding process. In this guide, we’ll walk you through everything you need to know to create your own cocoa bombs at home.
What You Need to Make Cocoa Bombs
Before you start, gather all the ingredients and tools you’ll need. You don’t need to be an expert to make cocoa bombs, but having the right tools will make the process much easier.
Ingredients:
Chocolate: Use high-quality chocolate chips, melting wafers, or chocolate bars. You can use milk, dark, or white chocolate, depending on your preference.
Hot cocoa mix: You can use any store-bought hot cocoa mix, or you can make your own by combining powdered cocoa, sugar, and powdered milk.
Mini marshmallows: These will be the fun surprise inside your cocoa bomb.
Optional extras: You can add things like chocolate chips, crushed candy canes, caramel bits, or even a little bit of flavored syrup (like peppermint or hazelnut) to make your cocoa bombs unique.
Tools:
Cocoa bomb mold: A silicone or plastic mold designed for making cocoa bombs. These molds are typically hemispherical (half-sphere) in shape to create the perfect bomb.
Microwave-safe bowl or double boiler: For melting the chocolate.
Spoon or small spatula: For spreading chocolate inside the mold.
Pastry brush (optional): For brushing a thin layer of chocolate inside the mold.
Small zip-top bags or piping bags (optional): For adding extra decorations like drizzled chocolate or sprinkles.
A small plate or tray: To place the cocoa bombs on as they cool.
Now that you have your ingredients and tools, let’s go over the process step-by-step.
Step 1: Prepare Your Workspace
Before you begin making your cocoa bombs, make sure you have a clean, organized workspace. You’ll be working with melted chocolate, so it’s best to work on a surface that’s easy to clean. Lay down parchment paper or a silicone mat to catch any drips or spills.
Make sure the cocoa bomb mold is clean and dry. If you’re using a silicone mold, there’s no need to grease it. However, if you’re using a plastic mold, you might want to lightly grease it with cooking spray or a paper towel dipped in oil.
Step 2: Melt the Chocolate
The key to a successful cocoa bomb is well-melted chocolate. There are two common methods for melting chocolate: in the microwave or using a double boiler.
Microwave Method:
- Place your chocolate in a microwave-safe bowl.
- Microwave the chocolate in 30-second intervals, stirring after each one, until fully melted and smooth. Be careful not to overheat the chocolate, as it can burn easily.
Double Boiler Method:
- Fill a saucepan with a couple of inches of water and bring it to a simmer.
- Place a heatproof bowl over the saucepan, ensuring the bowl doesn’t touch the water. Add your chocolate to the bowl.
- Stir the chocolate occasionally as it melts. Once it’s fully melted and smooth, remove it from the heat.
Once your chocolate is melted, let it cool slightly before you begin working with it.
Step 3: Coat the Cocoa Bomb Mold
Now comes the fun part! You’ll need to coat the inside of your cocoa bomb mold with a layer of melted chocolate. This layer will form the shell of your cocoa bomb.
Coating the Mold:
- Using a spoon or small spatula, scoop some melted chocolate into each cavity of the mold.
- Spread the chocolate around the mold, ensuring the entire inside is coated. You can also use a pastry brush to apply a thin layer of chocolate to the mold if you prefer.
- Be sure to spread the chocolate all the way to the edges of the mold to create a solid and sturdy cocoa bomb shell.
- If you want a thicker shell, repeat the process and apply a second layer of chocolate. Allow the first layer to cool slightly before adding the second.
- After coating the mold, tap it gently on the counter to remove any air bubbles and make sure the chocolate settles evenly.
Once the chocolate is evenly coated, place the mold in the fridge or freezer for about 10-15 minutes, or until the chocolate hardens completely.
Step 4: Remove the Cocoa Bomb Shells
Once the chocolate is fully set, it’s time to remove the cocoa bomb shells from the mold. To do this, carefully flip the mold over and gently press on the back of each cavity. The chocolate should pop out easily. If it’s stuck, give it a light tap or apply a little pressure.
If any of the shells break or aren’t as smooth as you’d like, don’t worry. You can always patch them up later with a little more melted chocolate.
Step 5: Fill the Cocoa Bombs
Now that you have your hollow chocolate shells, it’s time to fill them with the delicious hot cocoa ingredients.
Filling the Cocoa Bombs:
- Take one of the chocolate shells and place it open-side up on a flat surface.
- Add a generous amount of hot cocoa mix into the shell. You can measure the mix using a spoon, but about 1 to 2 tablespoons per bomb is a good amount.
- Add a few mini marshmallows on top of the cocoa mix. You can also add other fun mix-ins like crushed candy canes, chocolate chips, or caramel bits.
- Repeat this process with the other half of the cocoa bombs.
Be careful not to overfill the shells, as they need to be able to close properly.
Step 6: Seal the Cocoa Bombs
To seal the cocoa bomb, you’ll need to attach the two chocolate halves together.
Sealing the Bombs:
- Gently heat a small plate or tray in the microwave or over the stovetop. This will help melt the edges of the chocolate shells, allowing them to bond together.
- Take the empty half of the cocoa bomb shell and carefully press it onto the filled half. Hold it for a few seconds to make sure the chocolate sticks together.
- If there are any cracks or gaps in the seam, you can use a little melted chocolate to “glue” the two halves together.
Once sealed, let the cocoa bomb cool and set for about 10-15 minutes.
Step 7: Decorate Your Cocoa Bombs (Optional)
If you want to make your cocoa bombs extra special, you can decorate them with drizzles of chocolate, sprinkles, or edible glitter.
Decorating the Bombs:
- Use the leftover melted chocolate to drizzle over the outside of the cocoa bomb. You can also pipe the chocolate through a small zip-top bag or piping bag to create designs.
- Add some festive decorations like sprinkles, crushed nuts, or even a small candy on top.
- If you’re making cocoa bombs for a holiday, try adding themed decorations like candy canes for Christmas or heart-shaped sprinkles for Valentine’s Day.
Once decorated, place your cocoa bombs back in the fridge or freezer for a few minutes to set the decorations.
Step 8: Serve Your Cocoa Bombs
Now that your cocoa bombs are all set, it’s time to enjoy them! To use your cocoa bomb, simply place it in a mug and pour hot milk or hot water over the top. Watch as the bomb “explodes” and releases its contents, creating a delicious cup of hot cocoa.
You can also package the cocoa bombs in clear cellophane bags for a fun and personalized gift. They make a great gift idea for friends, family, or coworkers, especially around the holidays.
Tips and Tricks for Perfect Cocoa Bombs
Choose quality chocolate: The better the chocolate, the smoother and shinier your cocoa bombs will be.
Don’t overfill: Too much cocoa mix or marshmallows can make the bomb hard to seal. Be sure to leave a little space at the top of the shell.
Use room temperature milk: Pouring milk that’s too cold can cause the chocolate to crack. Heat your milk until it’s steaming but not boiling for the best results.
Get creative: You can personalize your cocoa bombs by adding fun flavors or decorations. Try adding a little peppermint extract, flavored syrups, or even mini candy bars inside!
Conclusion
Making cocoa bombs with a mold is a fun and easy way to create an impressive and delicious treat. With just a few simple ingredients and some creativity, you can make these delightful treats in no time. Whether you’re making them for yourself or as a gift, cocoa bombs are sure to be a hit. So grab your mold, melt some chocolate, and start crafting your own perfect cocoa bombs!
Related topics:


