Sugar paste is a versatile and sweet dough used in various baking applications, from decorating cakes to creating edible sculptures. It’s known for its smooth, pliable texture, which makes it easy to work with when covering cakes, making flowers, or creating intricate decorations. This article will guide you through the step-by-step process of making sugar paste at home, including tips and tricks for perfect results.
What is Sugar Paste?
Sugar paste, also known as fondant, is a smooth, pliable icing made primarily from sugar, water, and a few other simple ingredients. It has a soft, dough-like consistency and is commonly used for cake decorating. Sugar paste can be rolled out to cover cakes, molded into various shapes, or even colored to create different effects.
Ingredients for Sugar Paste
To make sugar paste, you will need the following ingredients:
Icing Sugar (Powdered Sugar): This is the main ingredient and provides the smooth texture. It should be sifted to avoid lumps.
Glucose Syrup: Glucose syrup adds sweetness and helps bind the paste together, making it smooth and shiny.
Glycerin: Glycerin prevents the sugar paste from drying out too quickly, keeping it flexible.
Gelatine: Gelatine helps give sugar paste its elasticity and texture.
Water: Water is used to dissolve the gelatine and help incorporate all the ingredients.
Vegetable Shortening (optional): Some recipes use shortening to make the sugar paste more pliable and less sticky.
Step-by-Step Process for Making Sugar Paste
Now, let’s walk through the process of making sugar paste from scratch. It’s a relatively simple procedure, and with a little patience, you’ll be able to create smooth and professional-looking sugar paste at home.
Step 1: Prepare the Gelatine
Dissolve the Gelatine: Start by dissolving the gelatine in a small amount of cold water. Typically, you’ll use about 1 tablespoon of gelatine for every 500 grams of icing sugar. Let it sit for a few minutes to bloom (soften).
Melt the Gelatine: Once the gelatine has bloomed, gently heat it over low heat until it dissolves completely. Be sure not to let it boil, as this can affect its properties.
Step 2: Mix Glucose Syrup and Glycerin
Combine Glucose Syrup and Glycerin: In a heatproof bowl, mix together the glucose syrup and glycerin. These ingredients help to give the paste its smooth texture and prevent it from drying out too quickly.
Heat the Mixture: Gently heat the mixture in the microwave or over a double boiler until it becomes liquid and smooth. Do not overheat; it should be warm, not hot.
Step 3: Combine the Icing Sugar and Liquid Mixture
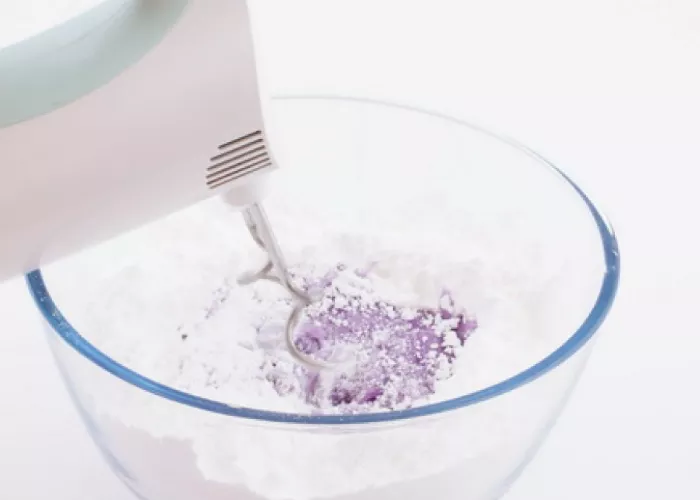
Sift the Icing Sugar: Sift the icing sugar into a large bowl to remove any lumps and ensure the sugar paste is smooth.
Add the Gelatine and Syrup Mixture: Pour the melted gelatine mixture into the sifted icing sugar. Mix gently to combine. You’ll notice that the ingredients begin to form a paste-like consistency.
Stir Until a Dough Forms: Use a spoon or spatula to stir the mixture until it forms a rough dough. If it’s too sticky, you can add a little more sifted icing sugar. If it’s too dry, add a small amount of warm water, one teaspoon at a time.
Step 4: Knead the Sugar Paste
Turn Out the Dough: Once the mixture has formed a dough, turn it out onto a clean, flat surface dusted with a little icing sugar to prevent sticking.
Knead the Dough: Begin kneading the dough by pushing it away from you and folding it back over itself. Continue kneading for about 5-10 minutes, or until the dough becomes smooth, elastic, and no longer sticky. If needed, dust your hands or surface with more icing sugar to prevent it from sticking.
Add Shortening (Optional): If the dough feels a little dry, you can rub some vegetable shortening onto your hands and knead it into the dough. This will help make the paste more pliable.
Step 5: Store the Sugar Paste
Wrap the Paste: Once your sugar paste is smooth and pliable, wrap it tightly in plastic wrap to prevent it from drying out. You can also place it in an airtight container.
Rest the Paste: Allow the sugar paste to rest for at least an hour before using it. This resting period will help improve its elasticity and workability.
Tips for Perfect Sugar Paste
Avoid Overheating the Gelatine: When dissolving gelatine, do not let it boil. Overheating can cause the gelatine to lose its properties, resulting in a poor texture.
Use Fresh Icing Sugar: Stale or old icing sugar may not give you the best results. Always use fresh, sifted icing sugar for a smooth texture.
Adjust the Consistency: If your sugar paste is too soft, knead in more icing sugar. If it’s too firm, add a few drops of water to soften it.
Coloring Sugar Paste: You can color your sugar paste with gel food coloring. Add the color during the kneading process for even distribution. Start with a small amount, as gel colors are concentrated.
Flavoring Sugar Paste: If you want to add a flavor to your sugar paste, consider using a few drops of flavor extract, such as vanilla, almond, or lemon, while kneading.
Common Problems and Solutions
Problem 1: Sugar Paste Is Too Sticky
If your sugar paste is sticky, it could be due to humidity or using too much liquid. The best solution is to dust your work surface and hands with more sifted icing sugar and knead until the paste becomes more workable. You can also add a little more gelatine to improve the consistency.
Problem 2: Sugar Paste Cracks When Rolling Out
Cracking can happen if the paste is too dry or overworked. To avoid cracks, make sure you are using enough shortening or water when kneading. If cracks appear, roll the paste between your palms to warm it slightly, and then roll it out again.
Problem 3: Sugar Paste Is Too Soft
If your sugar paste is too soft and doesn’t hold its shape, knead in more icing sugar to thicken it. A little extra gelatine can also help make it firmer and more elastic.
How to Use Sugar Paste
Once your sugar paste is ready, it can be used for various cake decorating tasks:
Covering Cakes: Roll out the sugar paste to a thin, even layer and drape it over your cake. Smooth it down with a fondant smoother to remove any air bubbles or wrinkles.
Molding Shapes: Sugar paste can be molded into flowers, figurines, or other decorations. Use your hands or specialized tools to shape it into the desired form.
Creating Ribbons and Bows: Roll out the sugar paste and cut it into strips to make ribbons or bows for decorating cakes and cupcakes.
Making Edible Decorations: You can also color your sugar paste to create vibrant decorations, from small flowers to large edible sculptures.
Storing Sugar Paste
Sugar paste can be stored for several weeks if kept properly. Ensure it is wrapped tightly in plastic wrap to prevent air exposure. Store it in an airtight container in a cool, dry place. If it starts to harden, simply knead it again to restore its pliability.
Conclusion
Making sugar paste at home is a straightforward process, and the result is a versatile and smooth icing perfect for all your cake decorating needs. By following the steps outlined in this guide, you’ll be able to create a sugar paste that is easy to work with and yields professional-looking results. Whether you’re making cakes, cupcakes, or intricate decorations, homemade sugar paste will elevate your baking projects to the next level.
Related topics