Cheesecake, with its smooth and velvety texture, is a dessert beloved by many. The combination of a buttery crust and rich, creamy filling makes it a true indulgence. If you’ve ever wondered how to create this delectable treat in your own kitchen, you’re in for a delightful journey. In this article, we’ll guide you through the process of making a classic cheesecake from scratch, step by step.
Gathering Your Ingredients and Equipment
Before diving into the cheesecake-making process, it’s essential to gather all the necessary ingredients and equipment. Here’s a list of what you’ll need:
Ingredients:
- 2 cups of graham cracker crumbs (or any other cookie crumbs of your choice)
- 1/2 cup of melted unsalted butter
- 32 ounces (900 grams) of cream cheese, softened at room temperature
- 1 cup of granulated sugar
- 4 large eggs, at room temperature
- 1 teaspoon of vanilla extract
- 1/2 cup of sour cream
- Optional: Flavors or additions of your choice, such as lemon zest, chocolate chips, or fruit compote for topping
Equipment:
- 9-inch (23 cm) springform pan
- Mixing bowls
- Electric mixer or stand mixer
- Rubber spatula
- Measuring cups and spoons
- Plastic wrap or aluminum foil
- Oven
Now that you have everything ready, let’s get started on the cheesecake-making process.
Preparing the Crust
Step 1: Preheat the Oven
Preheat your oven to 325°F (163°C) to ensure it’s ready when you’re finished preparing the crust and filling.
Step 2: Prepare the Crust
In a mixing bowl, combine the graham cracker crumbs and melted butter until the crumbs are evenly coated. The mixture should resemble wet sand.
Step 3: Press the Crust
Transfer the crust mixture into the bottom of a greased 9-inch (23 cm) springform pan. Use the back of a spoon or your fingers to press the crumbs evenly onto the bottom of the pan and slightly up the sides.
Step 4: Bake the Crust
Place the pan with the crust in the preheated oven and bake for about 10 minutes, or until the crust is lightly golden and set. Remove from the oven and let it cool while you prepare the filling.
Creating the Creamy Filling
Step 5: Prepare the Filling
In a large mixing bowl, beat the softened cream cheese until smooth and creamy. Use an electric mixer or stand mixer on medium speed for best results. Make sure to scrape down the sides of the bowl occasionally to ensure even mixing.
Step 6: Add Sugar and Vanilla
Gradually add the granulated sugar to the cream cheese mixture while continuing to mix. Once the sugar is incorporated, add the vanilla extract and mix until well combined.
Step 7: Incorporate the Eggs
Add the eggs, one at a time, beating well after each addition. This will ensure a smooth and uniform texture. Continue mixing until the eggs are fully incorporated and the mixture is creamy.
Step 8: Add Sour Cream
Add the sour cream to the cream cheese mixture and mix until well combined. The sour cream adds a tangy richness to the filling and helps achieve the signature creamy texture of cheesecake.
Step 9: Customize with Flavors or Additions (Optional)
If desired, this is the time to incorporate any additional flavors or additions to your cheesecake. For example, you can add lemon zest for a refreshing twist, chocolate chips for a decadent touch, or swirl in a fruit compote for a burst of fruity flavor.
Step 10: Pour the Filling
Pour the cream cheese filling into the prepared crust, spreading it evenly with a rubber spatula. Smooth out the top surface for an even finish.
Baking and Cooling the Cheesecake
Step 11: Prepare for the Water Bath
To prevent cracking and ensure even baking, it’s recommended to use a water bath. Wrap the bottom of the springform pan with a double layer of aluminum foil to prevent water from seeping into the crust.
Step 12: Bake the Cheesecake
Place the springform pan in a larger baking pan or roasting pan. Carefully pour hot water into the larger pan, filling it about halfway up the sides of the springform pan. This gentle and indirect heat will help the cheesecake cook evenly.
Transfer the pans to the preheated oven and bake for approximately 60-70 minutes, or until the edges are set but the center still has a slight jiggle. The exact baking time may vary, so keep a close eye on the cheesecake towards the end.
Step 13: Cool and Chill the Cheesecake
Once the baking is complete, turn off the oven and leave the cheesecake inside for about an hour to gradually cool down. Afterward, remove the springform pan from the water bath, remove the aluminum foil, and let the cheesecake cool completely at room temperature.
Cover the cooled cheesecake with plastic wrap or aluminum foil and refrigerate for at least 4 hours, preferably overnight. Chilling allows the flavors to meld and the texture to firm up, resulting in a lusciously creamy cheesecake.
Serving and Enjoying Your Cheesecake
Step 14: Remove the Cheesecake from the Pan
Before serving, carefully remove the sides of the springform pan by gently running a knife along the edges to release any sticking parts. Unlock the pan and lift it away, leaving the cheesecake on the base.
Step 15: Garnish and Serve
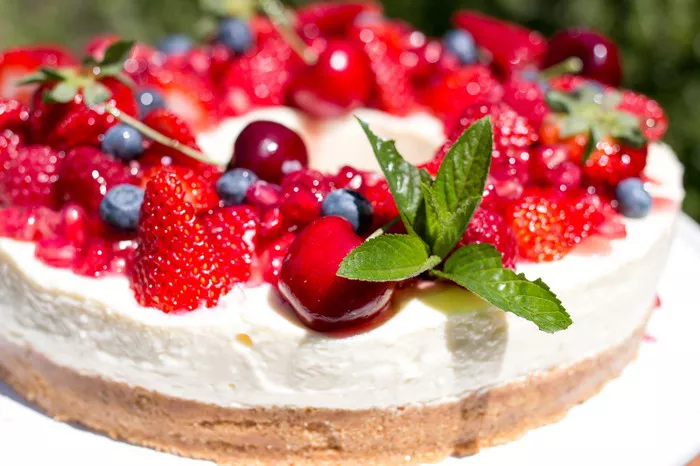
Now comes the fun part – garnishing and serving your homemade cheesecake. You can leave it plain and simple or get creative with toppings. Consider adding fresh fruit, a drizzle of chocolate or caramel sauce, or a dusting of powdered sugar. Slice the cheesecake into wedges and serve it with delight to yourself and your lucky guests.
Tips and Variations for Perfect Cheesecake
While the basic steps above will guide you in making a classic cheesecake, there are additional tips and variations you can explore to elevate your cheesecake game. Here are some suggestions to consider:
1. Choosing the Right Cream Cheese: Opt for full-fat cream cheese for a richer and creamier texture. Avoid using low-fat or non-fat varieties, as they can affect the final result.
2. Room Temperature Ingredients: Ensuring that all ingredients, including the cream cheese, eggs, and sour cream, are at room temperature helps them blend more smoothly and evenly.
3. Avoid Overbeating: Mix the cream cheese and other ingredients until just combined. Overbeating can introduce excess air into the batter, leading to cracks during baking.
4. Water Bath Alternatives: If you prefer not to use a water bath, you can place a shallow pan filled with hot water on the lower rack of the oven to create a moist baking environment.
5. Crust Variations: While graham cracker crumbs are a classic choice, you can experiment with different crust options. Try using crushed cookies, such as chocolate wafers, shortbread, or even Oreo cookies, for a unique twist.
6. Flavor Infusions: Get creative with flavor infusions by adding extracts, zests, or spices to the cream cheese filling. Consider options like lemon or orange zest, almond or coconut extract, or even a dash of cinnamon or nutmeg.
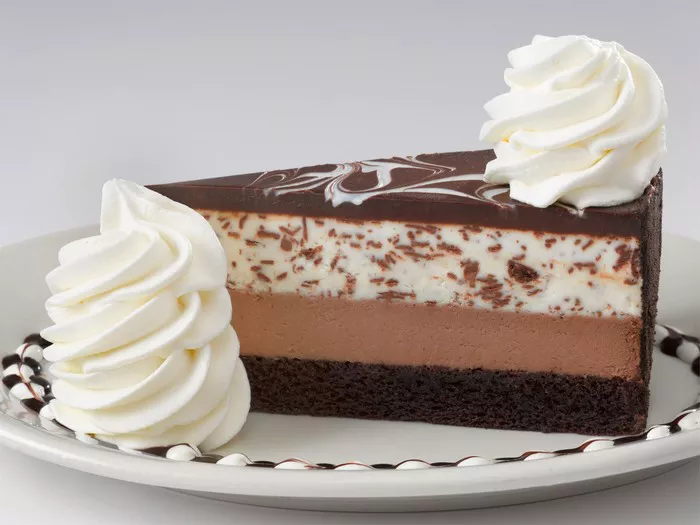
7. Toppings and Sauces: Explore various toppings and sauces to complement your cheesecake. Fresh fruit, chocolate ganache, berry compote, caramel sauce, or whipped cream are all popular choices.
8. Personalized Additions: Customize your cheesecake by incorporating add-ins, such as chocolate chips, crushed nuts, cookie chunks, or swirls of fruit preserves or chocolate sauce.
9. Texture Variations: If you prefer a denser and creamier cheesecake, use a water bath and bake the cheesecake until the center is set with little to no jiggle. For a lighter and fluffier texture, reduce the baking time slightly and allow the center to have a slight wobble.
10. Storage and Shelf Life: Cheesecake can be stored in the refrigerator for up to 5 days. To maintain its freshness, keep it covered with plastic wrap or in an airtight container.
11. Freezing Cheesecake: Cheesecake can also be frozen for longer-term storage. Wrap individual slices or the whole cheesecake tightly in plastic wrap and place it in a freezer-safe container. Thaw the cheesecake in the refrigerator overnight before serving.
Remember, practice makes perfect. Don’t be discouraged if your first attempt doesn’t turn out exactly as expected. Each time you make a cheesecake, you’ll gain experience and learn valuable lessons for future endeavors.
With these tips and variations in mind, you can unleash your creativity and create a cheesecake that suits your taste preferences and culinary style. Enjoy the process, savor the flavors, and indulge in the sweet rewards of your homemade masterpiece.
Conclusion
Making a homemade cheesecake is a rewarding endeavor that allows you to savor the rich and creamy goodness of this beloved dessert. With a few simple steps, quality ingredients, and a little patience, you can create a delectable cheesecake that will impress your taste buds and leave you craving more.
So, gather your ingredients, equip yourself with the necessary tools, and embark on this delightful journey of creating your own cheesecake masterpiece. Enjoy the process and the sweet rewards that await you in each heavenly bite.


