There’s something truly delightful about a cake with a luscious strawberry filling. Whether you’re baking a birthday cake, a special occasion cake, or simply indulging your sweet tooth, a homemade strawberry filling can elevate your dessert to a whole new level. In this guide, we’ll walk you through the steps of creating a delectable strawberry filling that will make your cakes burst with flavor and freshness.
1.Gather Your Ingredients
Before you embark on your strawberry filling adventure, ensure you have all the necessary ingredients at your fingertips:
You’ll Need:
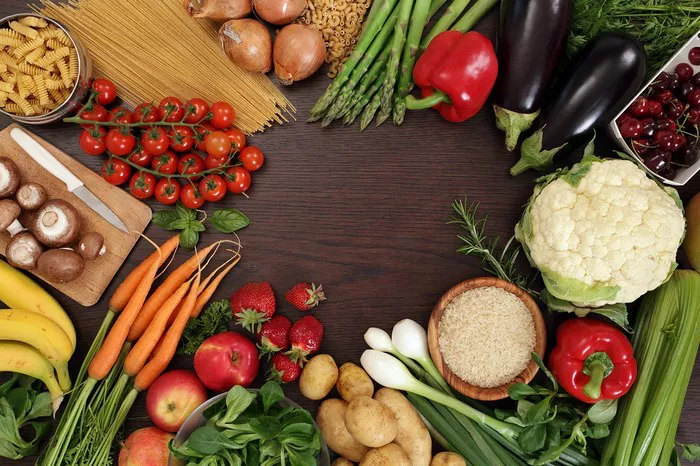
Fresh Strawberries: Aim for ripe, juicy strawberries. You’ll need about 2 cups, which equates to roughly 1 pound of strawberries.
Granulated Sugar: You’ll need sugar to sweeten the filling. Typically, 1/2 to 3/4 cup, depending on your desired sweetness.
Lemon Juice: A tablespoon or two of fresh lemon juice will add a touch of brightness to your filling and enhance the strawberry flavor.
Cornstarch: This will help thicken the filling. You’ll need about 2 tablespoons.
2. Prepare the Strawberries
Getting your strawberries ready for the filling
Wash and Hull: Begin by washing the strawberries under cold running water. Remove the green stems and hull the strawberries.
Slice or Dice: Depending on your preference, slice or dice the strawberries into small pieces. Smaller pieces will distribute more evenly in the filling.
3. Cook the Filling
Bringing the strawberry filling to life
Combine Ingredients: In a saucepan, combine the sliced strawberries, granulated sugar, lemon juice, and cornstarch. Stir gently to mix everything together.
Heat and Simmer: Place the saucepan over medium heat and bring the mixture to a gentle boil. Reduce the heat to low and let it simmer for 8-10 minutes, or until the strawberries soften, and the mixture thickens. Stir occasionally to prevent sticking.
4. Adjust Consistency and Flavor
Tweaking your filling to perfection
Mash or Blend: Depending on your preference, you can use a potato masher or an immersion blender to partially mash the strawberries. This step gives your filling a desirable texture, with some chunks of strawberries remaining.
Taste and Adjust: Sample your filling and adjust the sweetness by adding more sugar if needed. You can also adjust the tartness with a bit more lemon juice if desired.
5. Cool and Store
Preparing the filling for cake assembly
Cool: Allow the strawberry filling to cool completely before using it in your cake. You can speed up the cooling process by transferring it to a bowl and placing it in the refrigerator.
Store: If you’re not using the filling immediately, store it in an airtight container in the refrigerator. It can stay fresh for several days.
6. Assemble Your Cake
Bringing it all together
Cake Layers: Once your cake layers are baked and cooled, spread a generous layer of the homemade strawberry filling between them.
Frosting: You can complement the strawberry filling with your choice of frosting, such as whipped cream, cream cheese frosting, or buttercream.
Conclusion:
Making strawberry filling for cakes is a delightful journey that adds a burst of fruity freshness to your desserts. By following these simple steps, you can create a strawberry filling that’s not only delicious but also showcases your expertise in the kitchen.


