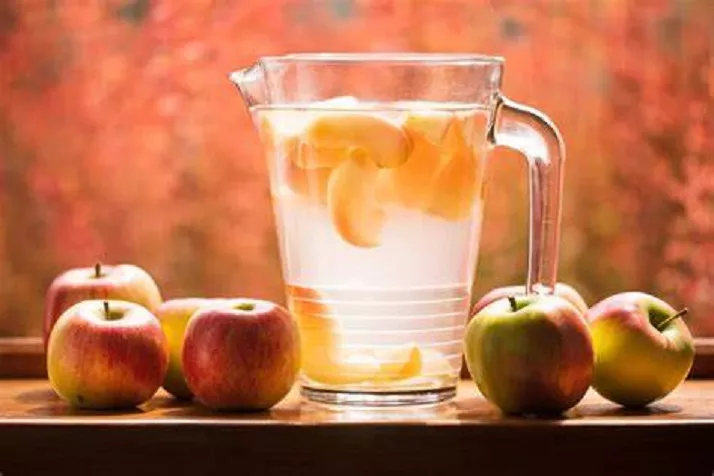
Are you ready to embark on a delicious journey into the world of homemade apple cider? Crafting your own apple cider is a rewarding experience that allows you to enjoy the sweet and tangy flavors of apples in a refreshing and natural beverage. Before you start, it’s important to gather all the essential ingredients and equipment. In this comprehensive guide, we’ll take you through the step-by-step process of making apple cider, ensuring your cider-making adventure is a success.
Ingredients You’ll Need
1. Fresh Apples
Choose a variety of apples for a well-rounded flavor profile. You can use sweet, tart, or a combination of both.
Aim for about 12-15 apples per gallon of cider, depending on their size.
2. Water
Ensure you have access to clean, fresh water. You’ll need it for both the cider-making process and cleaning equipment.
3. Sugar (Optional)
If you prefer a sweeter cider, you can add sugar to taste. This step is optional and depends on your preference.
Equipment You’ll Need
1. Apple Grinder
An apple grinder or crusher is essential for breaking down the apples into a pulp.
2. Press
A cider press is used to extract the juice from the apple pulp. You can choose from various types, including hydraulic and manual presses.
3. Fermentation Vessel
A food-grade fermentation vessel with an airlock is necessary to ferment the cider.
4. Airlock
An airlock allows gases to escape during fermentation while preventing outside air from entering the vessel.
5. Containers
You’ll need containers for storing the cider during fermentation and after it’s ready to drink. Glass or food-grade plastic containers are suitable.
6. Strainer or Cheesecloth
To filter out any solids, you’ll need a strainer or cheesecloth.
7. Bottles and Caps
For bottling your cider, you’ll need glass bottles and caps or swing-top bottles.
The Cider-Making Process
Now that you have all the necessary ingredients and equipment, let’s walk through the cider-making process:
Step 1: Prepare the Apples
Wash the apples thoroughly to remove dirt and contaminants.
Remove any spoiled or damaged areas.
You can peel and core the apples if desired, but it’s not necessary.
Step 2: Grinding
Use the apple grinder to turn the apples into a coarse pulp. This process releases the juice.
Step 3: Pressing
Place the apple pulp in the cider press and apply pressure to extract the juice.
Collect the juice in a clean container.
Step 4: Fermentation
Transfer the juice to a fermentation vessel, leaving some space at the top.
If you’re adding sugar for sweetness, do so at this stage.
Seal the vessel with an airlock and let it ferment for about one to two weeks. The fermentation process will convert sugars into alcohol.
Step 5: Bottling
After fermentation, strain the cider to remove any remaining solids.
Transfer the clear cider into bottles and seal them.
Step 6: Aging (Optional)
Allow the cider to age for a few months to develop its flavors. This step is optional but can enhance the taste.
Enjoy Your Homemade Apple Cider
Congratulations! You’ve successfully made your own apple cider. Store it in a cool, dark place and refrigerate once opened. Your homemade cider can be enjoyed as a refreshing drink or used in various culinary creations.
In conclusion, making apple cider is a fulfilling process that allows you to savor the natural flavors of apples in a delightful beverage. With the right ingredients and equipment, you can create a batch of cider that is sure to impress your taste buds and those of your friends and family. So, gather your apples, gear up with the required equipment, and start crafting your delicious homemade apple cider today!


