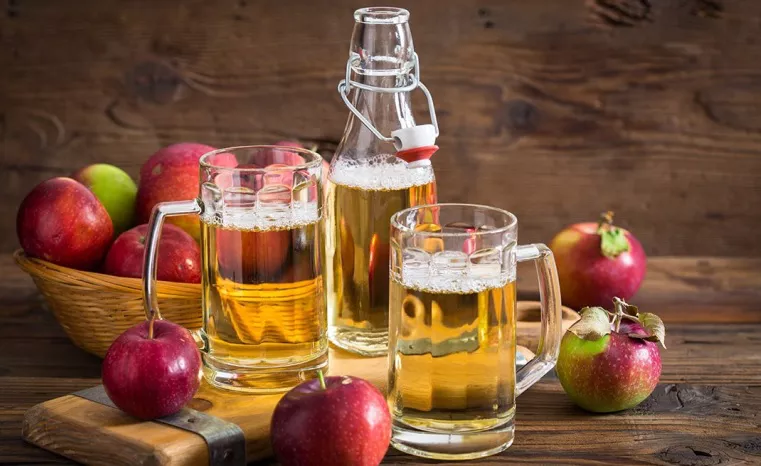
Creating hard apple cider is a rewarding and time-honored craft. This crisp and refreshing alcoholic beverage has been enjoyed for centuries, and making it at home allows you to savor the flavors of fall year-round. In this comprehensive guide, we will walk you through the steps to make professional-quality hard apple cider right in your own kitchen.
The Essentials: Gathering Your Ingredients
Before you start brewing, you’ll need to assemble all the necessary ingredients. Here’s a breakdown of what you’ll need to make hard apple cider:
1. Apples
Quantity: Approximately 20 pounds of apples per 5-gallon batch.
Tip: Opt for a mix of sweet and tart apple varieties to achieve a well-balanced flavor.
2. Sugar
Quantity: 1 to 2 pounds of sugar, typically white granulated or brown sugar.
Tip: The amount of sugar used will affect the sweetness and alcohol content of your cider.
3. Yeast
Options: Wine yeast or cider yeast strains are ideal for fermentation.
Tip: Choose a yeast strain that complements the flavors you want in your cider.
4. Water
Quantity: Enough to top off your fermentation vessel.
Tip: Use clean, chlorine-free water to avoid any unwanted flavors.
5. Campden Tablets (Optional)
Usage: Used to sanitize your equipment.
Tip: Especially important if you’re using apples from your own orchard or farmers’ market.
6. Acid Blend (Optional)
Usage: To adjust the acidity of your cider.
Tip: Add if your apples are overly sweet to balance the flavor.
7. Pectic Enzyme (Optional)
Usage: To clarify your cider.
Tip: Useful if you want a crystal-clear final product.
The Cider-Making Process: Step-by-Step
Now that you have all your ingredients ready, let’s delve into the art of crafting hard apple cider.
1. Preparing the Apples
Start by washing and sanitizing all your equipment, including the fermentation vessel, airlock, and stirring utensils. If you’re using apples from your garden or a farmers’ market, rinse them thoroughly. Remove any blemishes and cut the apples into quarters, leaving the skin and core intact.
2. Crushing and Pressing
To extract the juice, you’ll need to crush the apples. You can do this with a dedicated apple crusher or a clean, sanitized tool like a wooden mallet. Once the apples are crushed, press them to extract the juice. A cider press works best, but you can also use a clean cloth or a fine-mesh strainer.
3. Testing Sugar Content
Measure the sugar content of your apple juice using a hydrometer. This will help you determine the potential alcohol content of your cider. Make a note of the initial reading.
4. Adding Sugar
Depending on your desired sweetness and alcohol level, you may need to add sugar. Dissolve the sugar in a small amount of warm water to create a sugar syrup. Slowly pour it into your apple juice, stirring to ensure it’s evenly distributed.
5. Sanitizing and Pitching Yeast
If you’re using campden tablets, crush and dissolve them in a small amount of water. Add this solution to your apple juice to sanitize it. After 24 hours, pitch your chosen yeast strain into the juice. Seal the fermentation vessel with an airlock.
6. Fermentation
Allow the yeast to work its magic for about one to two weeks. During this time, you’ll notice bubbles in the airlock, indicating active fermentation. Keep the temperature in the fermentation area relatively consistent, ideally between 60°F and 75°F (15°C to 24°C).
7. Racking
After the initial fermentation, transfer the cider to a secondary fermentation vessel, leaving behind any sediment at the bottom. This step helps clarify the cider. Attach an airlock to the new vessel.
8. Aging
Let your cider age for several weeks to several months. The longer it ages, the smoother and more refined the flavor will become. Taste it periodically to determine when it has reached your desired flavor profile.
9. Bottling
When your cider is ready, it’s time to bottle it. Use sanitized bottles and a siphoning tube to fill them, leaving some headspace to allow for carbonation. If you want a still cider, you can pasteurize it by heating it to 190°F (88°C) for a few minutes before bottling.
10. Carbonation (Optional)
If you prefer carbonated cider, add a small amount of sugar to each bottle before sealing it with a cap or cork. This will create carbonation as the yeast consumes the added sugar. Let the bottles sit for a few weeks at room temperature to carbonate.
11. Enjoying Your Hard Apple Cider
Once your cider has carbonated (if you opted for carbonation), chill it in the refrigerator before serving. Pour it into a glass, and savor the crisp, refreshing taste of your homemade hard apple cider.
Conclusion: Raise a Glass to Your Craft
In conclusion, making hard apple cider at home is a rewarding and enjoyable process. With quality ingredients, careful sanitation, and patience, you can create a professional-quality cider that captures the essence of autumn’s bounty.


