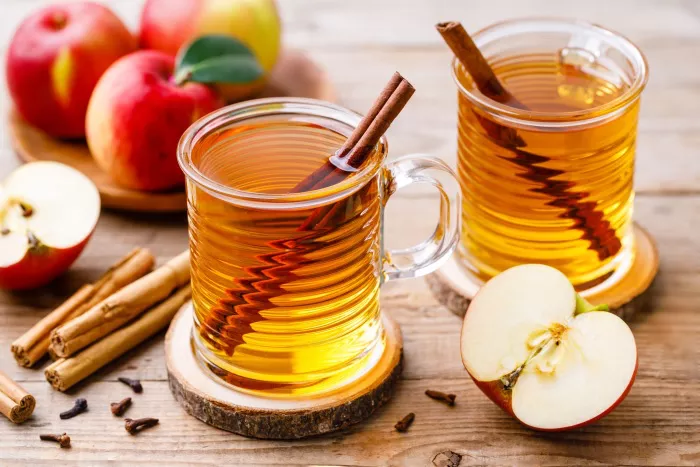
Apple cider, with its irresistible blend of sweet and tangy flavors, captures the essence of fall in a glass. Making apple cider from scratch is a time-honored tradition that allows you to savor the fruits of the season all year round. In this comprehensive guide, we will walk you through the steps to create a professional-quality apple cider right in your own kitchen.
The Essentials: Gathering Your Ingredients
Before you embark on your apple cider-making journey, it’s essential to gather all the necessary ingredients and equipment. Here’s a breakdown of what you’ll need:
1. Apples
Quantity: Approximately 10-12 pounds of apples per gallon of cider.
Varieties: A mix of sweet and tart apples, such as Gala, Granny Smith, and McIntosh.
Tip: Choosing a variety of apples adds depth of flavor to your cider.
2. Water
Quantity: Enough to cover the apples in your pot.
Quality: Use clean, chlorine-free water to prevent any off-flavors in your cider.
3. Sugar (Optional)
Usage: Used to sweeten the cider, if desired.
Tip: Taste your cider before sweetening to determine if it’s necessary.
4. Spices (Optional)
Options: Cinnamon sticks, cloves, nutmeg, or allspice for added warmth and flavor.
Tip: Spices can be added to your taste preference, so feel free to experiment.
5. Equipment
Essentials: A large stockpot, a food mill or apple crusher, a strainer or cheesecloth, and glass or plastic containers for storage.
Tip: Ensure all equipment is thoroughly cleaned and sanitized before use.
The Cider-Making Process: Step-by-Step
Now that you have all your ingredients and equipment ready, let’s dive into the art of crafting homemade apple cider.
1. Preparation
Start by washing the apples thoroughly, removing any dirt or debris. Core and roughly chop the apples, including the peel, into smaller pieces. There’s no need to be too precise; the goal is to make the apples easier to work with and extract juice from.
2. Cooking the Apples
Place the chopped apples into a large stockpot and add enough water to cover them. If you want to sweeten your cider, add sugar to taste at this stage. You can also add spices for extra flavor. Simmer the apples over medium heat for 20-30 minutes, or until they become soft and mushy.
3. Extracting the Juice
Once the apples are fully cooked, it’s time to extract the juice. There are two main methods:
Using a Food Mill: Pass the cooked apples through a food mill to separate the liquid from the solids. This method provides a relatively clear cider.
Using a Cheesecloth or Strainer: Place a cheesecloth or strainer over a clean container. Pour the cooked apples and their juices onto the cheesecloth or strainer, allowing the liquid to filter through while trapping the solids. This method may result in a cloudier cider.
4. Pressing (Optional)
If you want to maximize juice extraction, consider using a cider press. A cider press exerts significant pressure on the cooked apples, extracting every last drop of juice. This step is optional but can yield a higher juice yield.
5. Storing and Fermentation
Pour the extracted apple juice into clean, sanitized glass or plastic containers, leaving some headspace to allow for fermentation. Cover the containers loosely with lids or airlocks to allow gases to escape during fermentation.
6. Natural Fermentation
Place the containers in a cool, dark place with a consistent temperature between 50°F and 70°F (10°C to 21°C). Allow the juice to ferment naturally for several weeks. During this time, wild yeast present in the apples will convert the sugars into alcohol.
7. Testing and Bottling
After a few weeks, taste your cider to determine its flavor and alcohol content. If you’re satisfied with the taste and alcohol level, it’s time to bottle your cider. Use clean, sanitized bottles and store them in a cool, dark place for further aging.
8. Aging and Enjoyment
Apple cider can be enjoyed fresh, but it benefits from aging. Store your bottled cider for several months to a year for a smoother and more refined flavor. When you’re ready to savor your homemade apple cider, chill it in the refrigerator before serving.
Conclusion:
In conclusion, making apple cider from scratch is a rewarding and flavorful endeavor. With quality apples, a few simple ingredients, and a bit of patience, you can create a professional-quality apple cider that captures the essence of autumn in every sip.


