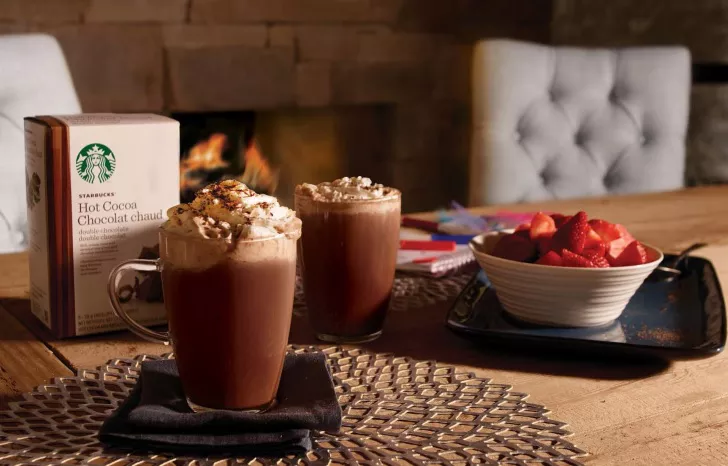
Starbucks is renowned for its delicious hot cocoa, a comforting and indulgent treat that warms the soul. Fortunately, you don’t have to venture to a coffee shop to enjoy this rich and creamy beverage. In this comprehensive guide, we will walk you through the steps to make a professional-grade Starbucks-style hot cocoa in the comfort of your own home.
The Essentials: Gathering Your Ingredients
Before you embark on your hot cocoa-making adventure, it’s essential to gather all the necessary ingredients. Here’s a breakdown of what you’ll need:
1. High-Quality Cocoa Powder
Quantity: About 2 tablespoons of unsweetened cocoa powder.
Tip: Choose a high-quality cocoa powder for the best flavor.
2. Sugar
Quantity: 2 to 3 tablespoons of granulated sugar.
Tip: Adjust the sugar to your taste preference, adding more or less as needed.
3. Milk
Type: Whole milk, 2% milk, or any milk alternative like almond milk or soy milk.
Quantity: Approximately 1.5 cups.
Tip: Whole milk provides the creamiest texture, but choose the milk that suits your dietary preferences.
4. Heavy Cream (Optional)
Quantity: 2 tablespoons.
Tip: Adding heavy cream lends a luxurious richness to your hot cocoa.
5. Vanilla Extract (Optional)
Quantity: A dash of vanilla extract for added flavor.
Tip: Use pure vanilla extract for the best results.
6. Whipped Cream (Optional)
Usage: For topping your hot cocoa.
Tip: You can make homemade whipped cream or use store-bought.
7. Chocolate Shavings (Optional)
Usage: For garnish and an extra chocolatey touch.
Tip: Shave some chocolate from a chocolate bar using a fine grater.
The Hot Cocoa-Making Process: Step-by-Step
Now that you have all your ingredients ready, let’s delve into the art of crafting a Starbucks-style hot cocoa.
1. Mixing the Cocoa and Sugar
Start by mixing the unsweetened cocoa powder and granulated sugar in a small bowl. Combine them well to ensure even distribution of cocoa throughout your hot cocoa.
2. Heating the Milk
In a medium-sized saucepan, heat the milk over medium-low heat. Stir it gently to avoid scorching. Bring the milk to a simmer but do not let it boil. Heating the milk gradually ensures a creamy and smooth hot cocoa.
3. Adding the Cocoa Mixture
Once the milk is hot but not boiling, reduce the heat to low and add the cocoa and sugar mixture. Whisk it into the milk, making sure there are no lumps. Continue to simmer the mixture while whisking for another 2-3 minutes, allowing it to thicken slightly.
4. Incorporating Heavy Cream (Optional)
If you’re looking for an extra creamy and indulgent hot cocoa, add the heavy cream at this stage. Stir it into the mixture until well combined.
5. Infusing with Vanilla (Optional)
For an added layer of flavor, stir in a dash of vanilla extract. This step enhances the aroma and taste of your hot cocoa.
6. Checking Sweetness
Taste your hot cocoa and adjust the sweetness to your liking by adding more sugar if necessary. Remember that the sweetness level can be customized to suit your taste.
7. Serving Your Hot Cocoa
Pour your homemade Starbucks-style hot cocoa into a favorite mug. If you prefer, you can strain it through a fine-mesh sieve to remove any lumps or residue.
8. Topping and Garnishing
To truly capture the Starbucks experience, top your hot cocoa with a generous dollop of whipped cream and a sprinkle of chocolate shavings. These garnishes not only enhance the presentation but also add to the indulgence.
Conclusion:
In conclusion, creating a Starbucks-style hot cocoa at home is a delightful and simple process that allows you to savor the comforting warmth and rich flavor of this beloved beverage. With high-quality ingredients, a bit of patience, and a touch of creativity in your garnishes, you can enjoy a professional-grade hot cocoa whenever the craving strikes.


