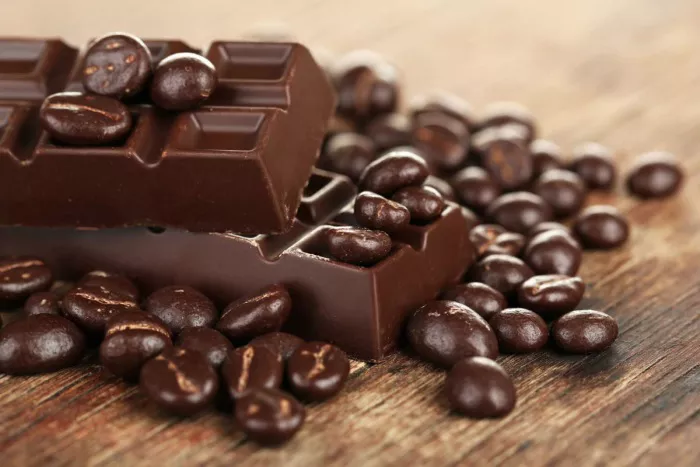
Chocolate scones are a delightful twist on the classic scone, combining the rich flavors of cocoa with the buttery, flaky texture of a traditional scone. Whether enjoyed with a cup of tea or as a sweet breakfast treat, making chocolate scones at home allows you to savor the warmth and freshness of these baked delights. In this professional article, we will guide you through the step-by-step process of creating perfect chocolate scones in your own kitchen, ensuring a delicious and rewarding baking experience.
Ingredients for Chocolate Scones:
To embark on your chocolate scone baking journey, gather the following ingredients:
2 cups all-purpose flour
1/3 cup cocoa powder
1/2 cup granulated sugar
1 tablespoon baking powder
1/2 teaspoon baking soda
1/2 teaspoon salt
1/2 cup unsalted butter, cold and cut into small cubes
1 cup chocolate chips or chunks
3/4 cup buttermilk
1 teaspoon vanilla extract
These simple yet essential ingredients come together to create a chocolate scone that balances the richness of cocoa with a tender and flaky texture.
Step 1: Preheat the Oven and Prepare the Baking Sheet
Begin by preheating your oven to 400°F (200°C). Line a baking sheet with parchment paper or lightly grease it to prevent the scones from sticking during baking. This preparation ensures even heat distribution and a perfect bake.
Step 2: Combine Dry Ingredients for Chocolate Scones
In a large mixing bowl, whisk together the all-purpose flour, cocoa powder, granulated sugar, baking powder, baking soda, and salt. Ensuring that these dry ingredients are well combined sets the foundation for the flavor and texture of your chocolate scones.
Step 3: Incorporate Cold Butter into the Mixture
Add the cold, cubed butter to the dry ingredients. Using a pastry cutter or your fingertips, work the butter into the flour mixture until it resembles coarse crumbs. This process helps create the flaky layers characteristic of scones.
Step 4: Add Chocolate Chips to the Dough
Gently fold in the chocolate chips or chunks into the flour-butter mixture. The combination of cocoa and chocolate pieces ensures a rich and indulgent chocolate flavor in every bite.
Step 5: Mix Wet Ingredients Separately
In a separate bowl, whisk together the buttermilk (or milk with vinegar/lemon juice) and vanilla extract. The acidity in buttermilk contributes to the tenderness of the scones, while the vanilla enhances the overall flavor profile.
Step 6: Combine Wet and Dry Mixtures for Chocolate Scones
Make a well in the center of the dry ingredients, and pour the wet ingredients into the well. Gently fold the mixture until just combined. Be cautious not to overmix, as this could result in denser scones.
Step 7: Shape and Cut the Scone Dough
Turn the dough onto a lightly floured surface and gently knead it a few times until it comes together. Pat the dough into a circle or rectangle, approximately 1 inch thick. Use a floured round cutter or a sharp knife to cut out individual scones. Place the scones on the prepared baking sheet, leaving some space between each for proper rising during baking.
Step 8: Bake the Chocolate Scones to Perfection
Transfer the baking sheet to the preheated oven and bake the chocolate scones for about 12-15 minutes or until they have risen and are golden brown. Keep a close eye on them to prevent overbaking, as this can result in dry scones.
Step 9: Optional Glaze or Dusting for Finishing Touch
Once the chocolate scones have cooled slightly, you can choose to add a finishing touch. Drizzle them with a simple glaze made from powdered sugar and milk or cream for a sweet and glossy coating. Alternatively, dust the scones with a light sprinkle of cocoa powder for an elegant and decadent appearance.
Step 10: Enjoy Freshly Baked Chocolate Scones
The final step is the most rewarding – savoring your freshly baked chocolate scones. Whether enjoyed warm from the oven or at room temperature, these delightful treats are perfect on their own or with a dollop of clotted cream, a smear of butter, or a drizzle of chocolate sauce.
Tips and Tricks for Perfect Chocolate Scones:
Keep Ingredients Cold:
Ensure that your butter is cold and cut into small cubes. Cold butter helps create flaky layers in the scones. Additionally, using cold buttermilk or milk contributes to the overall texture of the dough.
Handle the Dough Gently:
Overhandling the dough can result in dense scones. Mix the wet and dry ingredients just until combined, and avoid excessive kneading when shaping the dough. The goal is to create a tender and light texture.
Use High-Quality Cocoa:
The quality of cocoa greatly influences the chocolate flavor of your scones. Opt for high-quality cocoa powder to ensure a rich and satisfying chocolate experience.
Experiment with Add-Ins:
While chocolate chips are a classic choice, feel free to experiment with additional add-ins such as nuts, dried fruit, or even a swirl of peanut butter for a unique twist on chocolate scones.
Properly Preheat the Oven:
Preheating the oven ensures that the scones begin baking immediately, resulting in optimal rise and texture. An adequately heated oven is essential for achieving that perfect golden-brown exterior.
Watch Baking Time Closely:
Baking times can vary based on your oven and the size of your scones. Keep a close eye on them during the last few minutes of baking to prevent overcooking and ensure a tender and moist interior.
Conclusion:
Mastering the art of making chocolate scones at home allows you to indulge in the irresistible combination of rich cocoa and buttery, flaky layers. With simple ingredients and a few expert tips, you can create these delightful treats to share with family and friends or savor in a quiet moment of self-indulgence. Whether enjoyed as a sweet breakfast, an afternoon snack, or a delightful dessert, homemade chocolate scones are a testament to the joy of baking and the pleasure of savoring freshly made treats.


